
How to Take Before & After Home Renovation Photos
When you’re trying to show off previous projects to potential new clients, it’s important to have a high quality portfolio of renovation photos, especially before and after shots. Directly showcasing the changes you’ve made is the best way to advertise your skill and clearly demonstrate the quality of your installation.
But how do you get the perfect before and after photos of a home renovation project? Read on to learn our expert tips for taking the perfect rernovation photos to show off the best of what your company can do.
Step 1 – Prepare Your Camera or Phone
Whether you are using a smartphone or a digital camera, there are different processes to keep in mind. Both can take very high quality photos, so it all comes down to what you are most comfortable using. DSLR (Digital Single-Lens Reflex) cameras take a bit more technical know-how, so you may prefer to use your smartphone if digital cameras are still new to you.
Important Steps for Phone Photos
The first thing to check before trying to take professional photos is your camera lens. Because our phones are in and out of pockets or bags all day, it’s easy for the lens to pick up dust and debris. Give it a clean with a cloth to make sure your picture won’t be obstructed.
You should also check your phone storage. You don’t want to be halfway through taking photos when you suddenly have to stop and delete things to free up more gallery space.
Finally, we recommend that you enable the camera grid on your phone, generating a line grid to help you line up your photos perfectly. For Android: Open ‘Settings’, go to ‘Camera’, then toggle ‘Grid’ to on. For Apple: Open your camera app, go to settings, find ‘Grid’ or ‘Gridlines’ and enable it.
Important Steps for Camera Photos
With digital cameras, they are typically stored securely with a lens cap on, so there is very little chance of debris on the lens. However, we still recommend you check before starting a photo session. Double check that your camera batteries are fully charged the day before so that you can take as many photos as you’d like. Make sure you format your memory card, and familiarise yourself with the various settings of the camera.
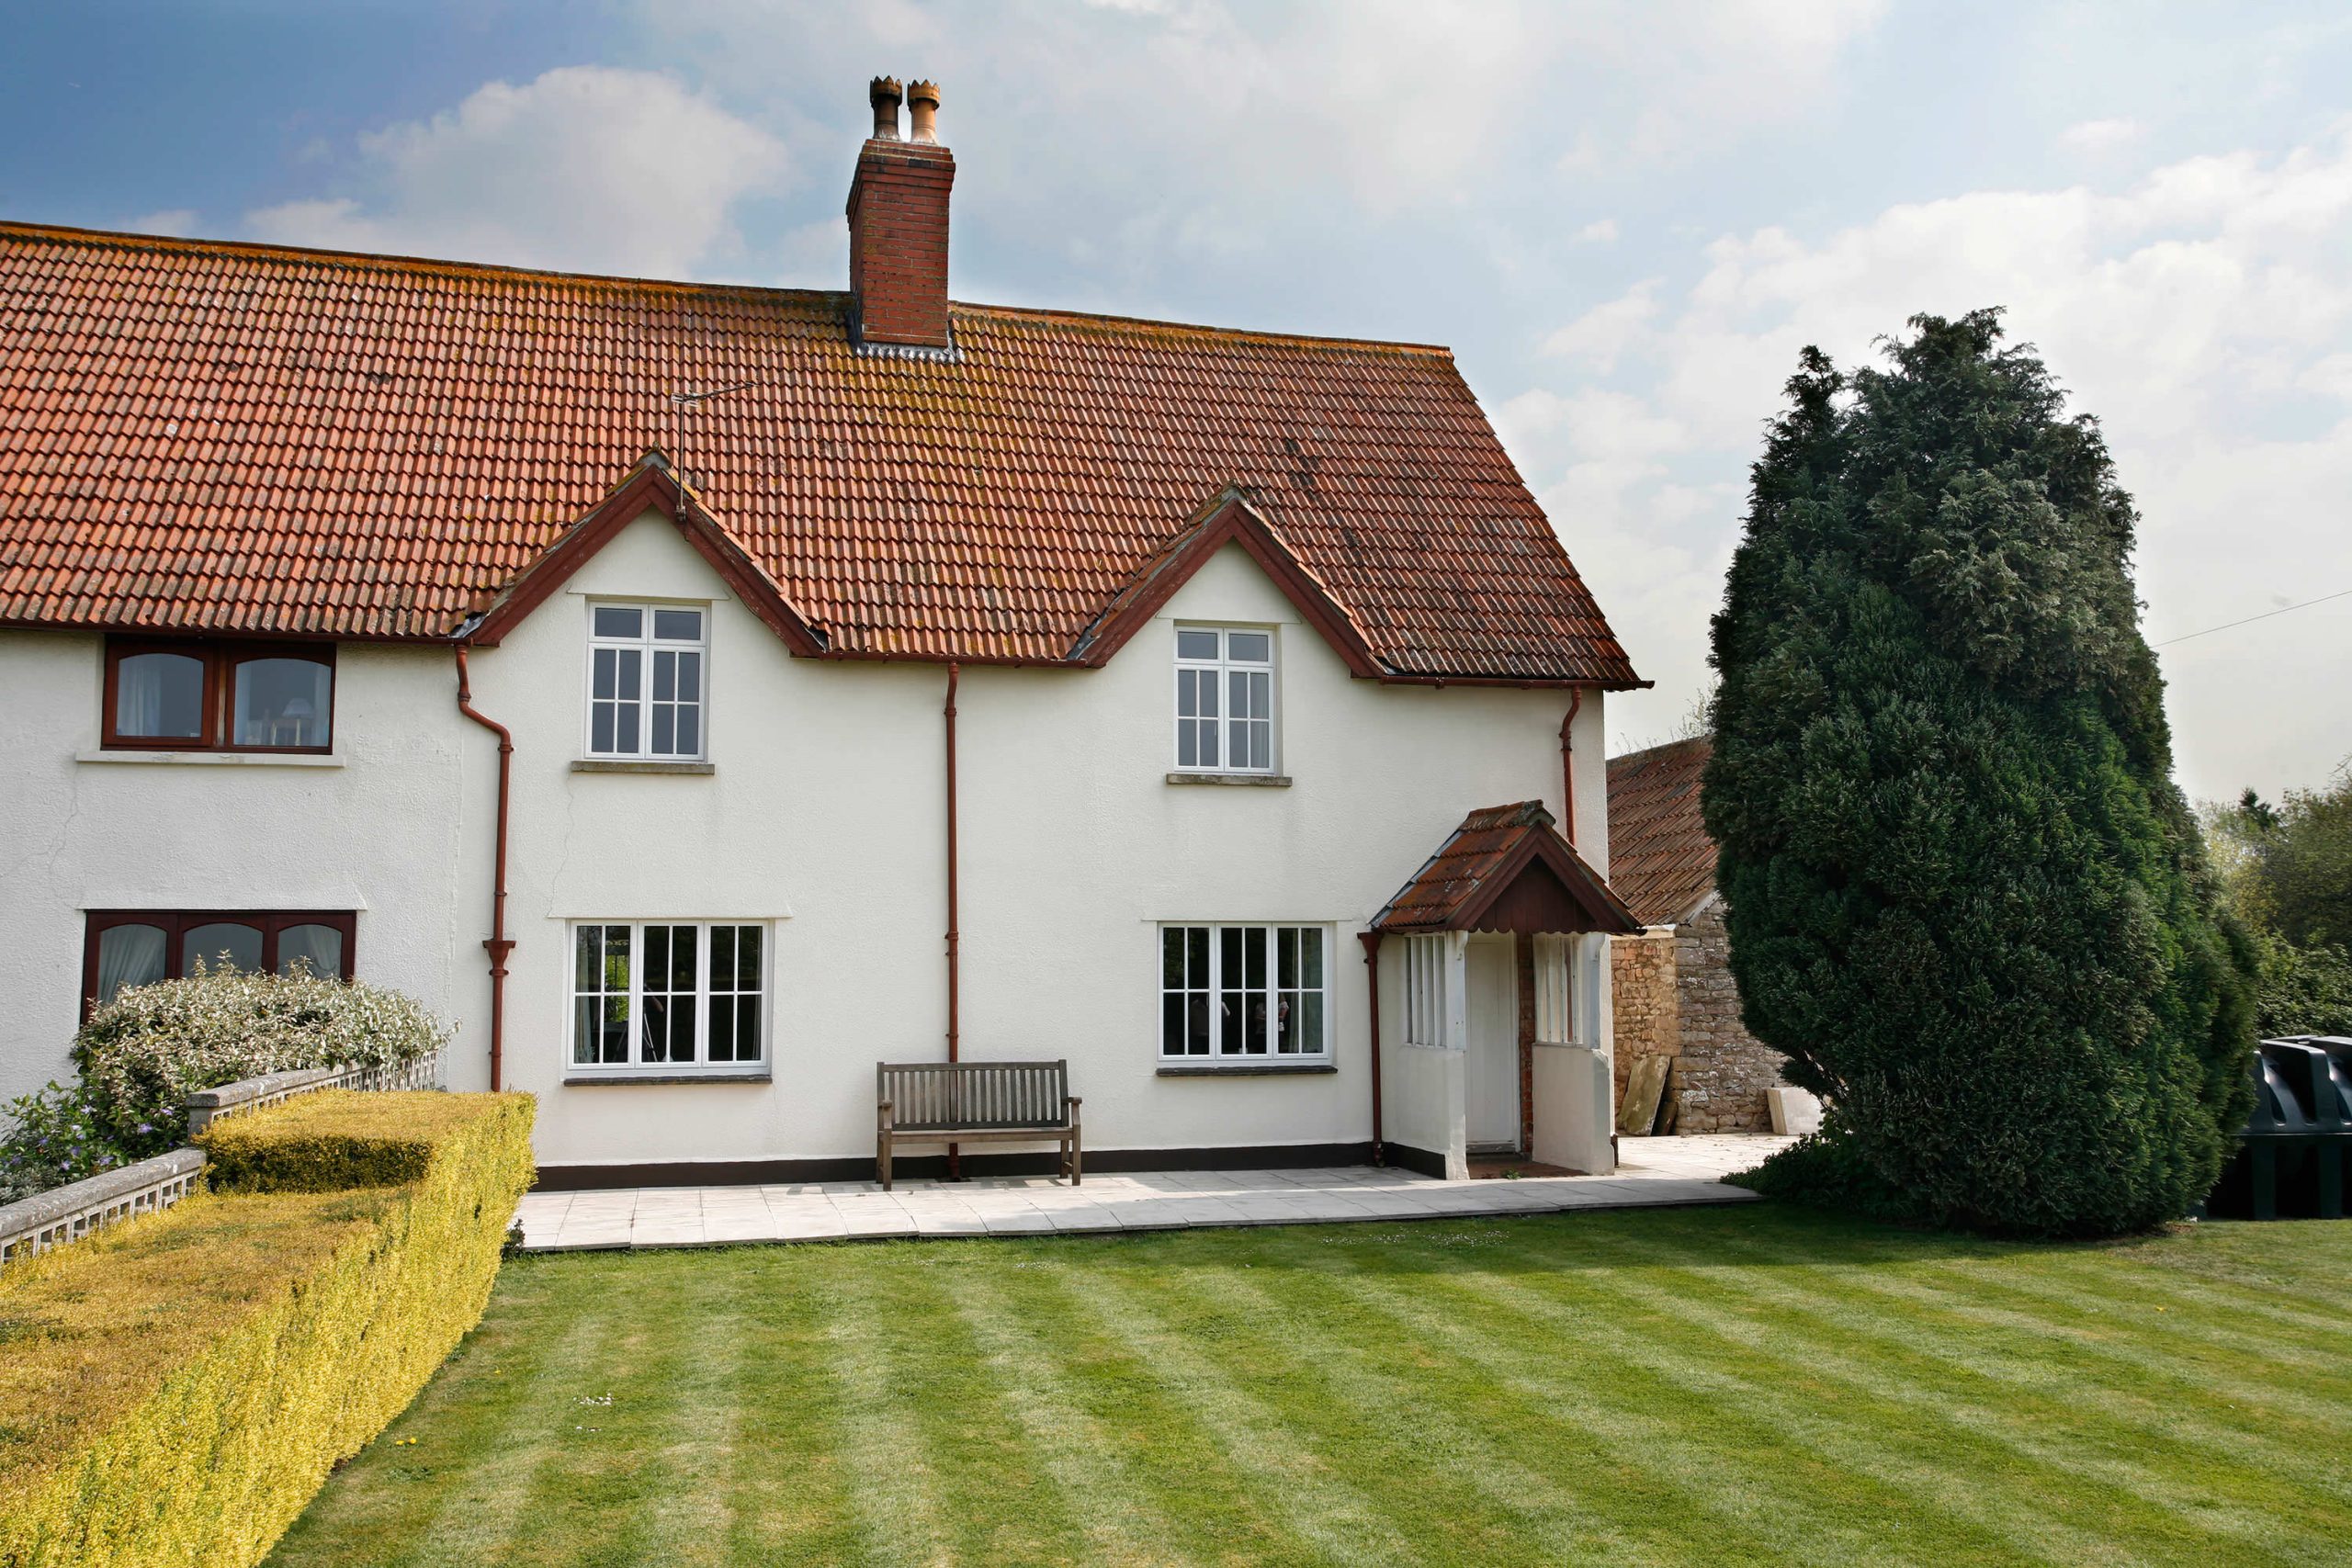
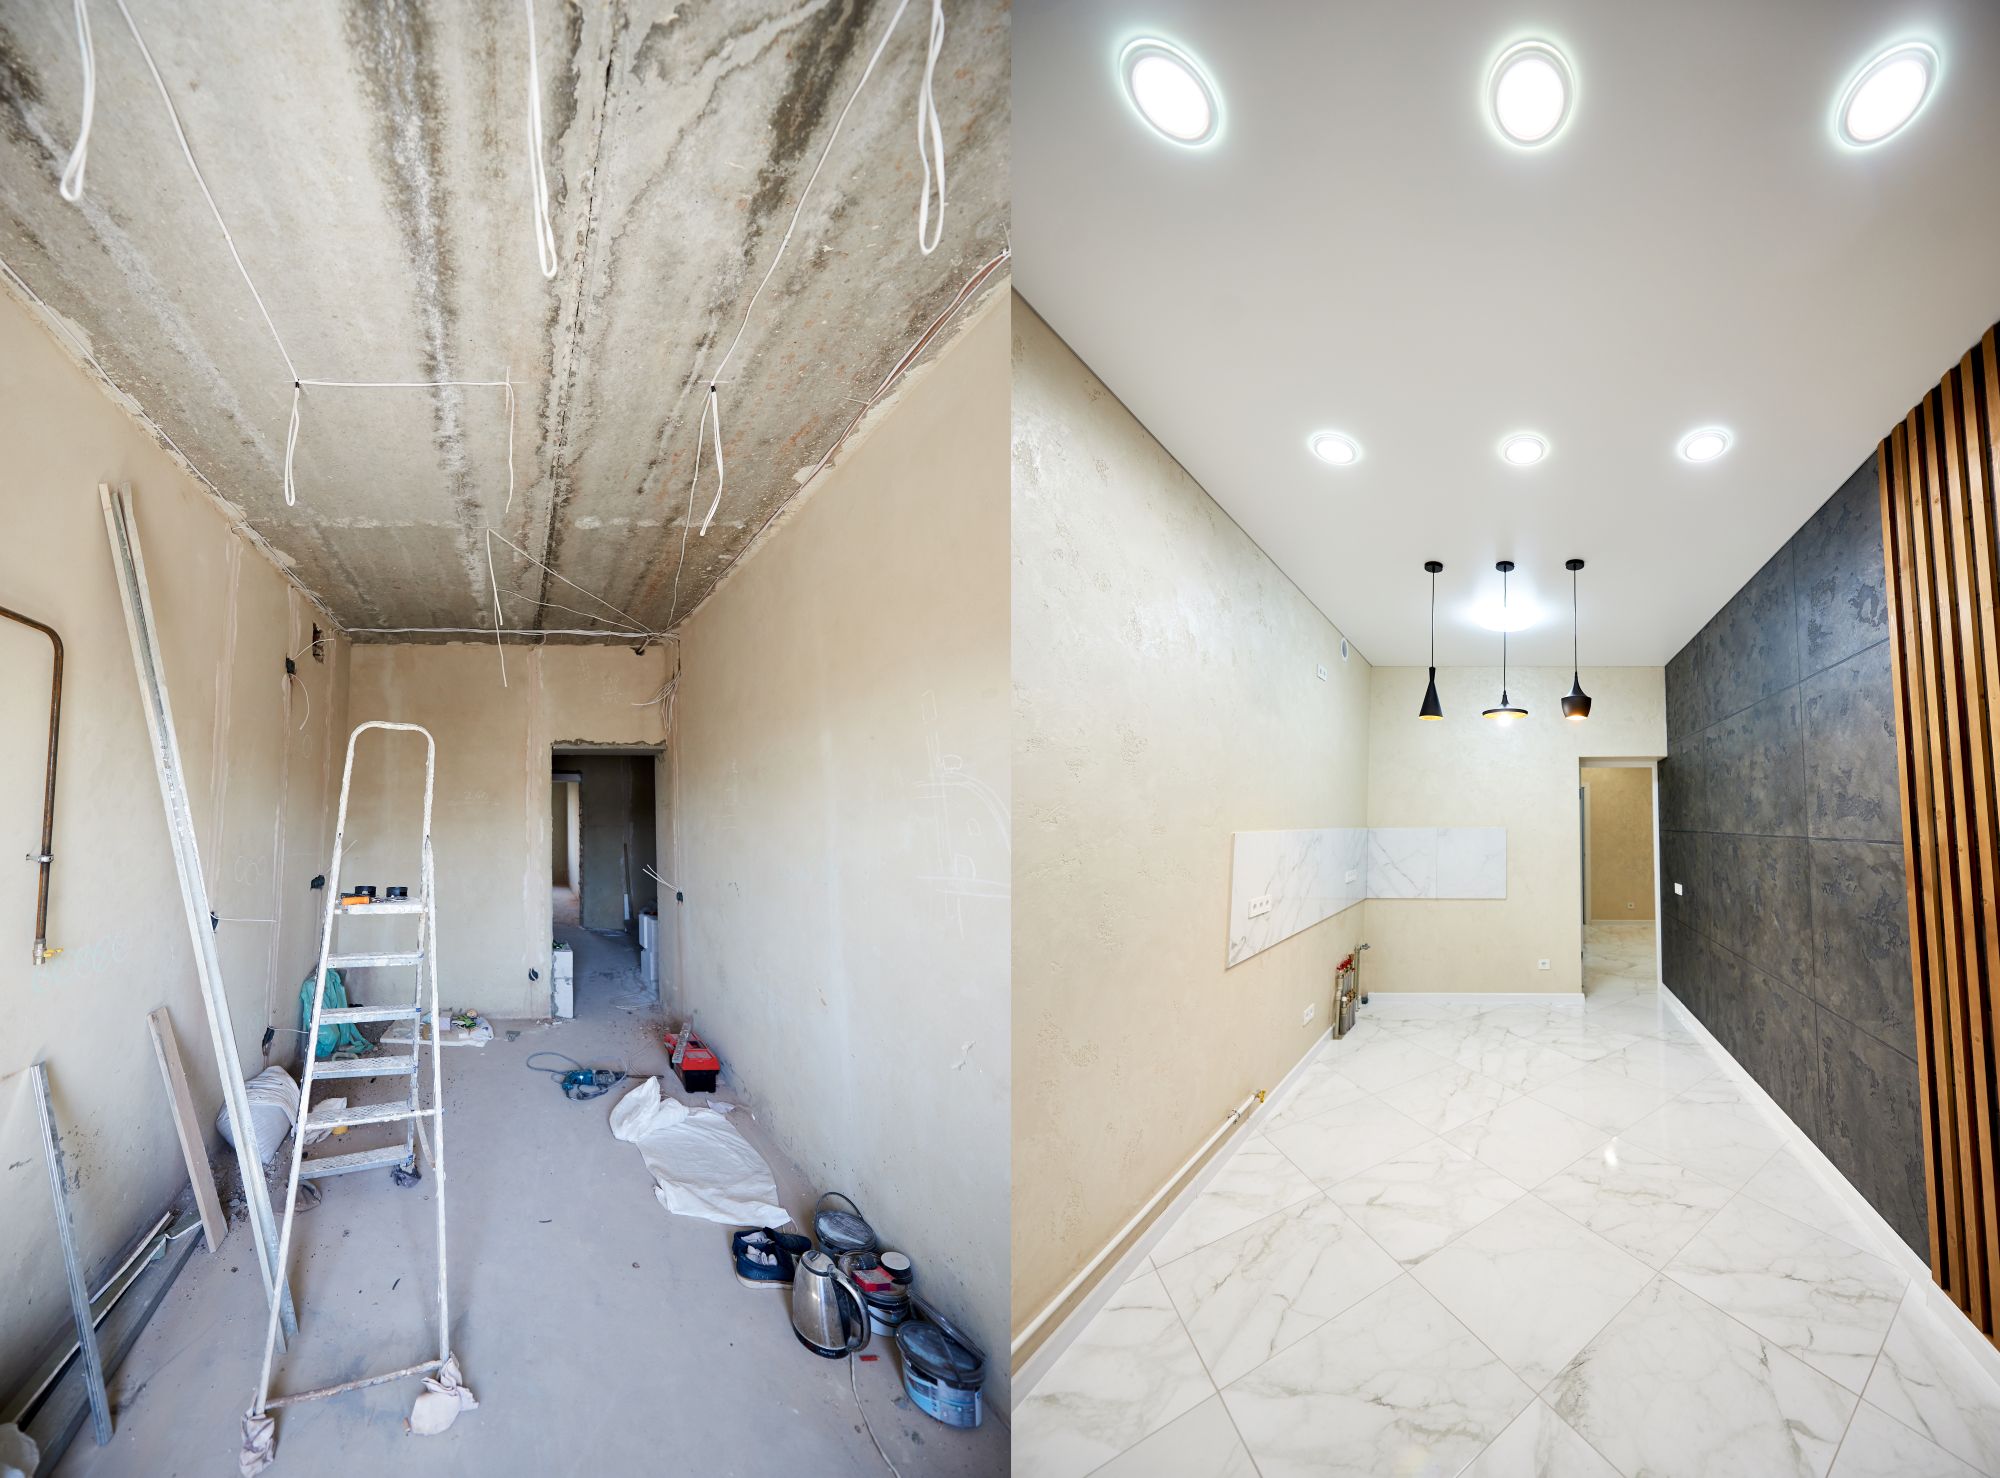
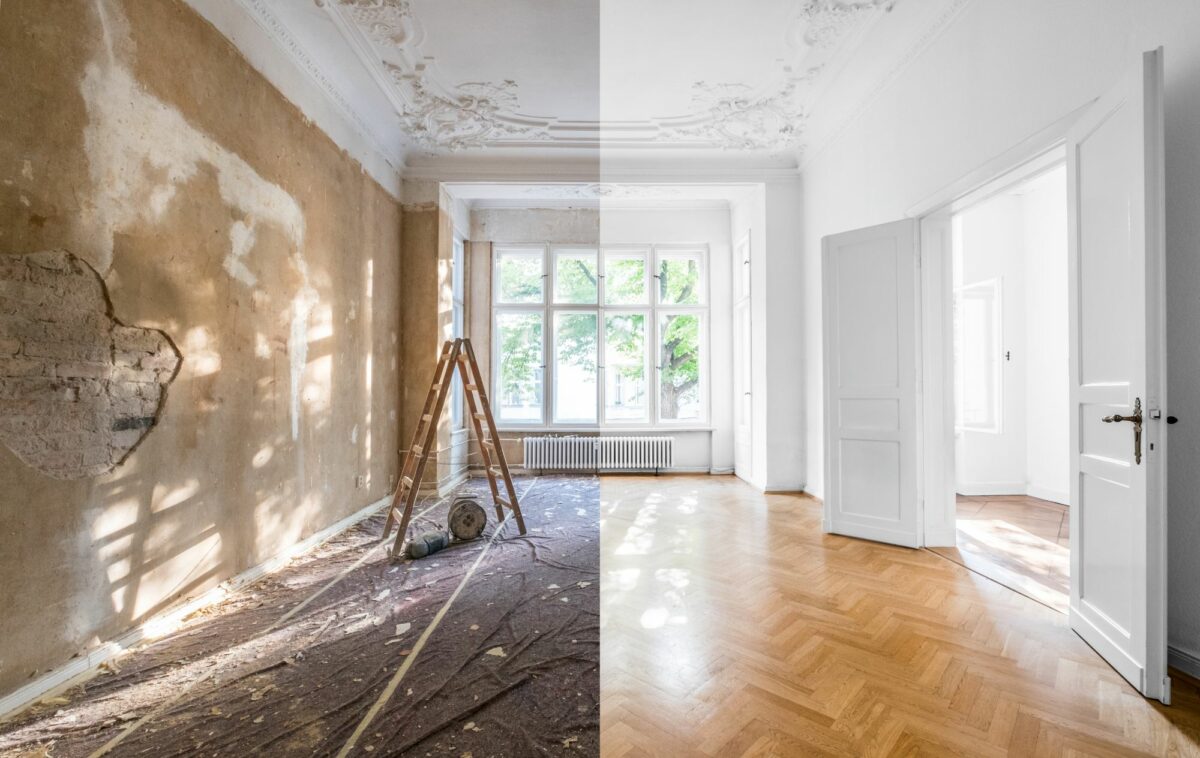
Step 2 – Capture Clear Before Photos
Before you take any pre-renovation photos, there are some steps you need to remember for the best possible photos. Always keep in mind that you are trying to capture the whole space before and after with the best possible comparison.
Declutter the Area
Any area you are photographing should be free of clutter and mess, showing only the elements of the home that you are going to upgrade. It may be tempting to leave any strewn belongings where they are to emphasise the change, but this can be more distracting for potential clients. They are more likely to focus on the cleanliness of the before and after than the renovation itself.
Optimise Your Lighting and Angles
For before and after photos, you want to make sure you are taking them in the best lighting. By showing the highest quality pre-renovation photos, you further highlight the quality of your work. We recommend taking photos in early or mid-morning light, taking advantage of soft natural lighting. Use curtains or blinds to adjust the light coming in, and make the most of lamps or overhead lights where needed to give you a bright, warm environment.
It’s also important to line up your photos, which is where the grid function on phones or the levellers on cameras comes in. A perfectly balanced photo, centring the subject of the picture and making sure that your photo is level, will look more professional on a website or brochure. We also recommend horizontal photos, as this will let you capture more of the home in one frame, as well as being more compatible with social media and websites. It also incorporates more ‘white space’ around the subject of your photo, which helps your product to stand out without overcrowding the frame.
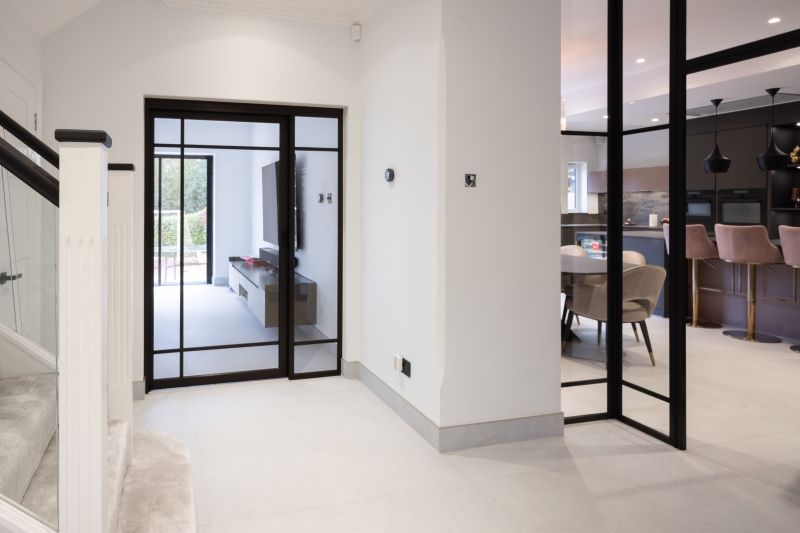
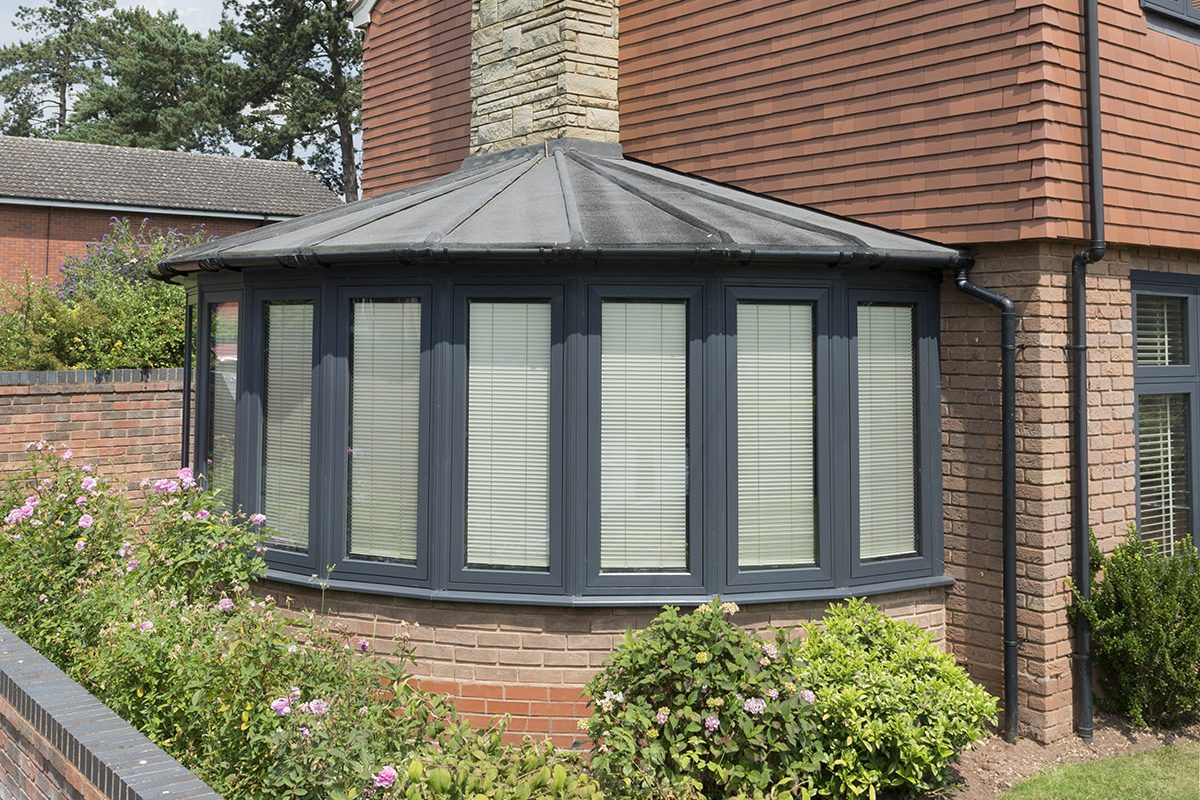
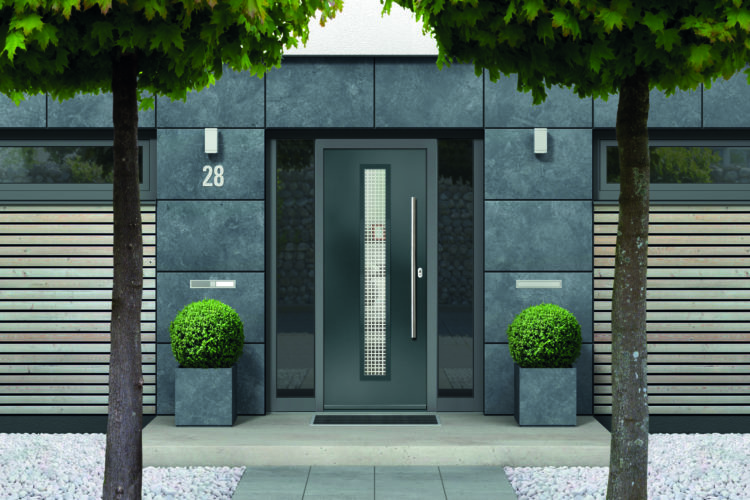
Step 3 – Take Your After Photos
When your renovation is complete and you’re trying to show off the quality of your installation, you want to get the best photos possible. You’ve put in the hard work of making someone’s home more impressive, and that should be showcased! Make sure you follow our quick and easy tips for taking the perfect after photo of your installation.
Set Up a Matching Angle
You want to make sure that any before and after photos you take will line up with each other as this will show the most stark contrast. We recommend making note of the space and angle your photos were taken from so that you can come back to it with ease once your work is done. Remember to optimise your lighting, and try and get the light as similar as possible to the original photos.
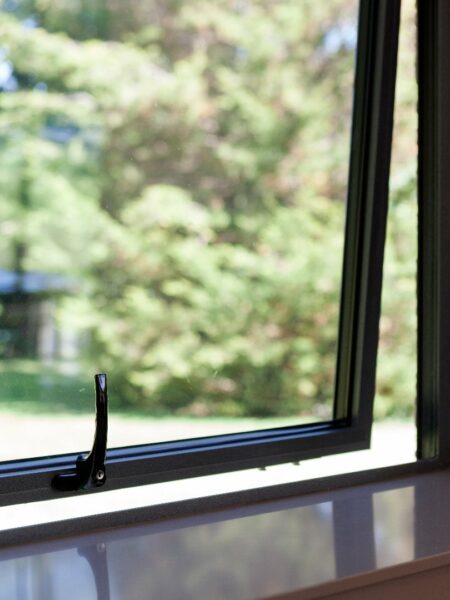
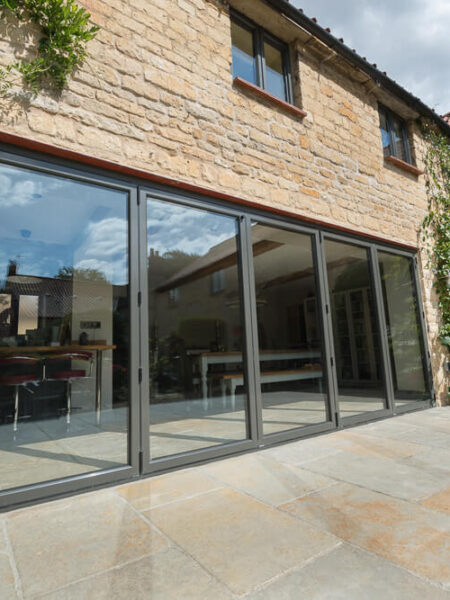
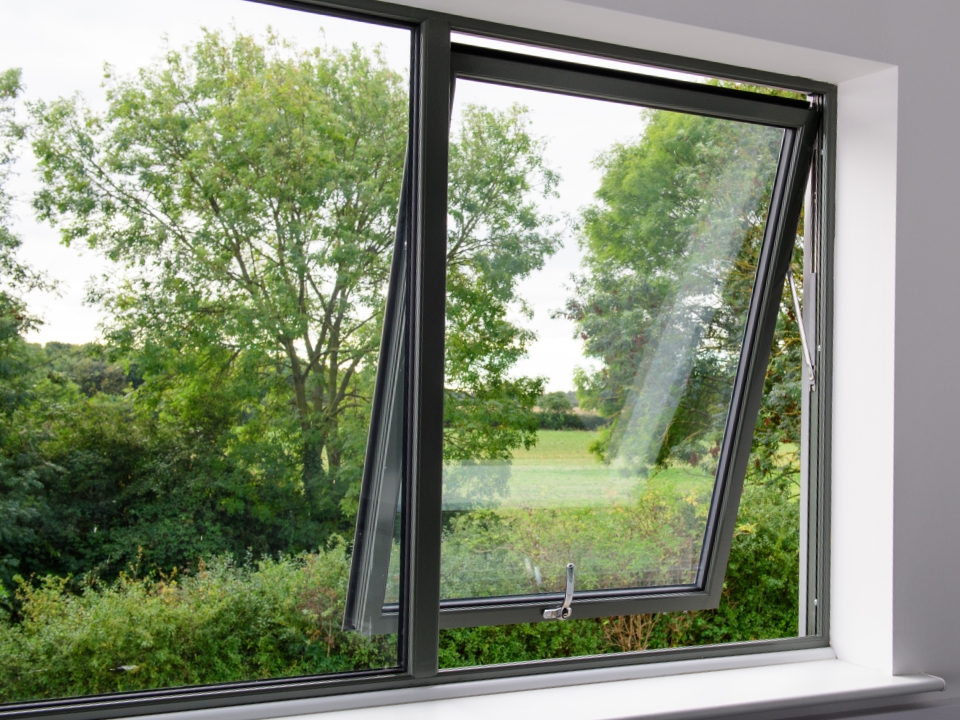
Take Close-Ups and Wide Shots
The wide horizontal shots are important for side-by-side before and after images, but we also recommend taking close-up photos. Show the fine detail of your installations with tasteful close shots, showing the difference in quality whatever your distance from the window or door.
Join the Sternfenster Approved Installer Network Today
For more expert tips, join our Approved Installer network today! We offer a wide range of advice and support to our installers, making sure that your business grows when you choose a partnership with us. To benefit from our many online tools, products, and sales incentives, join our network and start selling Sternfenster today!